How to Measure Turbidity in Water: Step-by-Step Guide
Water quality testing is essential for understanding whether water is safe, clean, and suitable for different uses. One of the most common tests performed during water analysis is turbidity measurement.
Turbidity shows how clear or cloudy water is by measuring the amount of suspended particles present. These particles may include sediment, organic matter, microorganisms, minerals, and other materials that affect water appearance and treatment efficiency.
Measuring turbidity correctly helps homeowners, laboratories, water treatment professionals, and industries monitor changes in water quality. This step-by-step guide explains how turbidity is measured, what equipment is needed, and how to achieve accurate results.
What Is Turbidity Measurement?
Turbidity measurement is the process of determining the amount of suspended particles in water. Instead of identifying specific contaminants, turbidity testing measures how much light is scattered when it passes through a water sample.
The result is usually reported in Nephelometric Turbidity Units (NTU). Lower NTU values indicate clearer water, while higher values indicate more suspended particles.
You can learn more about the basics of turbidity in this guide about what turbidity is.
Equipment Needed for Turbidity Testing
Before measuring turbidity, you need the right tools and equipment.
Common equipment includes:
Turbidity Meter
A turbidity meter (also called a nephelometer) is the main device used to measure turbidity. It works by sending light through a water sample and detecting the amount of scattered light.
Sample Container
A clean, clear sample vial is required to hold the water sample. Scratches, dirt, or fingerprints can affect readings.
Calibration Standards
Calibration solutions are used to make sure the turbidity meter provides accurate measurements.
Cleaning Materials
A clean cloth and proper cleaning solution help maintain the sample container and instrument.
Step 1: Collect a Water Sample
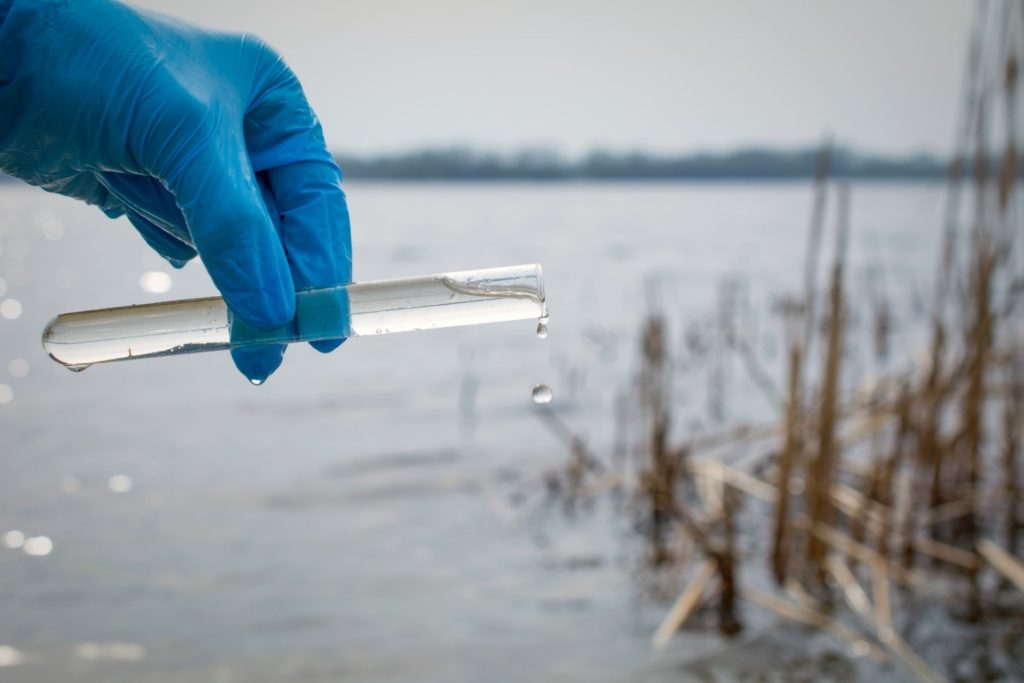
The first step is collecting a representative water sample.
Follow these practices:
- Use a clean sample container
- Avoid touching the inside of the container
- Collect water from the correct location
- Fill the container carefully to avoid creating bubbles
If testing tap water, allow the water to run briefly before collecting the sample. This helps remove stagnant water from pipes.
Step 2: Prepare the Turbidity Meter
Before testing, prepare the turbidity meter according to the manufacturer’s instructions.
Check that:
- The device is clean
- Batteries or power supply are working
- Calibration is up to date
- The measurement chamber is free from dust
Proper preparation improves accuracy and prevents incorrect readings.
Step 3: Calibrate the Instrument
Calibration ensures that the turbidity meter measures correctly.
Most meters use standard solutions with known turbidity values. The instrument compares these standards against measurements from unknown samples.
Regular calibration is important because inaccurate equipment can lead to unreliable water quality results.
Step 4: Prepare the Sample
Before inserting the sample into the meter:
- Check the sample for visible debris
- Remove air bubbles if present
- Mix gently if particles have settled
- Wipe the outside of the container
Avoid shaking the sample aggressively because this can introduce bubbles and affect the result.
Step 5: Insert the Sample Into the Meter
Place the sample container into the turbidity meter.
Make sure:
- The container is positioned correctly
- The lid is closed if required
- The outside surface is clean
The meter will send light through the sample and measure how much light is scattered.
Step 6: Record the NTU Reading
After the measurement is complete, the meter will display the turbidity value.
The result is usually shown in NTU.
Examples:
- Low NTU: Clear water with fewer particles
- Medium NTU: Some suspended material present
- High NTU: Cloudy water with significant particles
Record the result along with the date, sample location, and testing conditions. Keeping records helps identify changes over time.
Step 7: Repeat Testing for Accuracy
For important water quality checks, repeat the measurement several times.
Multiple readings can help:
- Confirm accuracy
- Identify unusual results
- Reduce measurement errors
Consistent results provide greater confidence in the data.
Common Mistakes That Affect Turbidity Results
Accurate turbidity testing requires careful handling. Several mistakes can cause incorrect readings.
Dirty Sample Containers
Residue or fingerprints can scatter light and increase turbidity readings.
Air Bubbles
Small bubbles may be detected as particles and create higher results.
Poor Calibration
A turbidity meter that is not calibrated properly may produce inaccurate measurements.
Incorrect Sampling
A sample that does not represent the actual water source can give misleading results.
How Turbidity Meters Measure Water Clarity
Most turbidity meters use a method called nephelometry.
The instrument shines a light beam through the water sample. Suspended particles scatter the light, and a sensor measures the scattered amount.
The device then converts this measurement into an NTU value.
For a deeper explanation of the equipment involved, see this article about how turbidity meters work.
Measuring Turbidity in Different Types of Water
Turbidity testing can be performed on many types of water sources.
Drinking Water
Testing helps confirm that filtration and treatment systems are working properly.
Groundwater
Well water may contain sediment, minerals, or natural materials that affect clarity.
Surface Water
Rivers and lakes are often tested because rainfall, erosion, and environmental changes can increase turbidity.
Industrial Water
Industries use turbidity monitoring to maintain process quality and meet water standards.
Why Regular Turbidity Testing Matters
Regular turbidity measurement helps identify changes before they become serious problems.
High turbidity may indicate:
- Sediment buildup
- Treatment system issues
- Pipe disturbances
- Environmental contamination
Monitoring turbidity allows quick action and better water management.
Organizations such as the United States Environmental Protection Agency include turbidity monitoring as an important part of drinking water quality management because it helps evaluate treatment effectiveness.
How to Reduce High Turbidity Levels
If water has a high turbidity reading, the solution depends on the cause.
Possible solutions include:
- Improving filtration
- Cleaning storage tanks
- Maintaining plumbing systems
- Controlling runoff
- Removing sediment buildup
Understanding why turbidity increased is the first step toward fixing the issue.
For more information about cloudy water causes, visit this guide on causes of cloudy water.
Tips for Accurate Turbidity Testing
To get reliable results:
- Use clean equipment
- Follow proper sampling procedures
- Calibrate the meter regularly
- Avoid bubbles in samples
- Test consistently over time
- Store equipment correctly
Good testing habits improve the quality of your measurements.
Final Thoughts
Measuring turbidity in water is a simple but valuable way to understand water quality. By using a turbidity meter, following proper testing steps, and recording NTU results, you can monitor changes and identify potential issues.
Whether testing drinking water, environmental samples, or industrial systems, turbidity measurement provides important information about water clarity and treatment performance.
For more guides, FAQs, and educational materials about turbidity testing, explore these additional resources.